
Pressure washing a wood fence can significantly improve its appearance and extend its lifespan. This comprehensive guide will provide you with the necessary steps, technical specifications, and expert insights to ensure a successful pressure washing project for your wood fence.
Before Pressure Washing: Preparing for a Flawless Finish
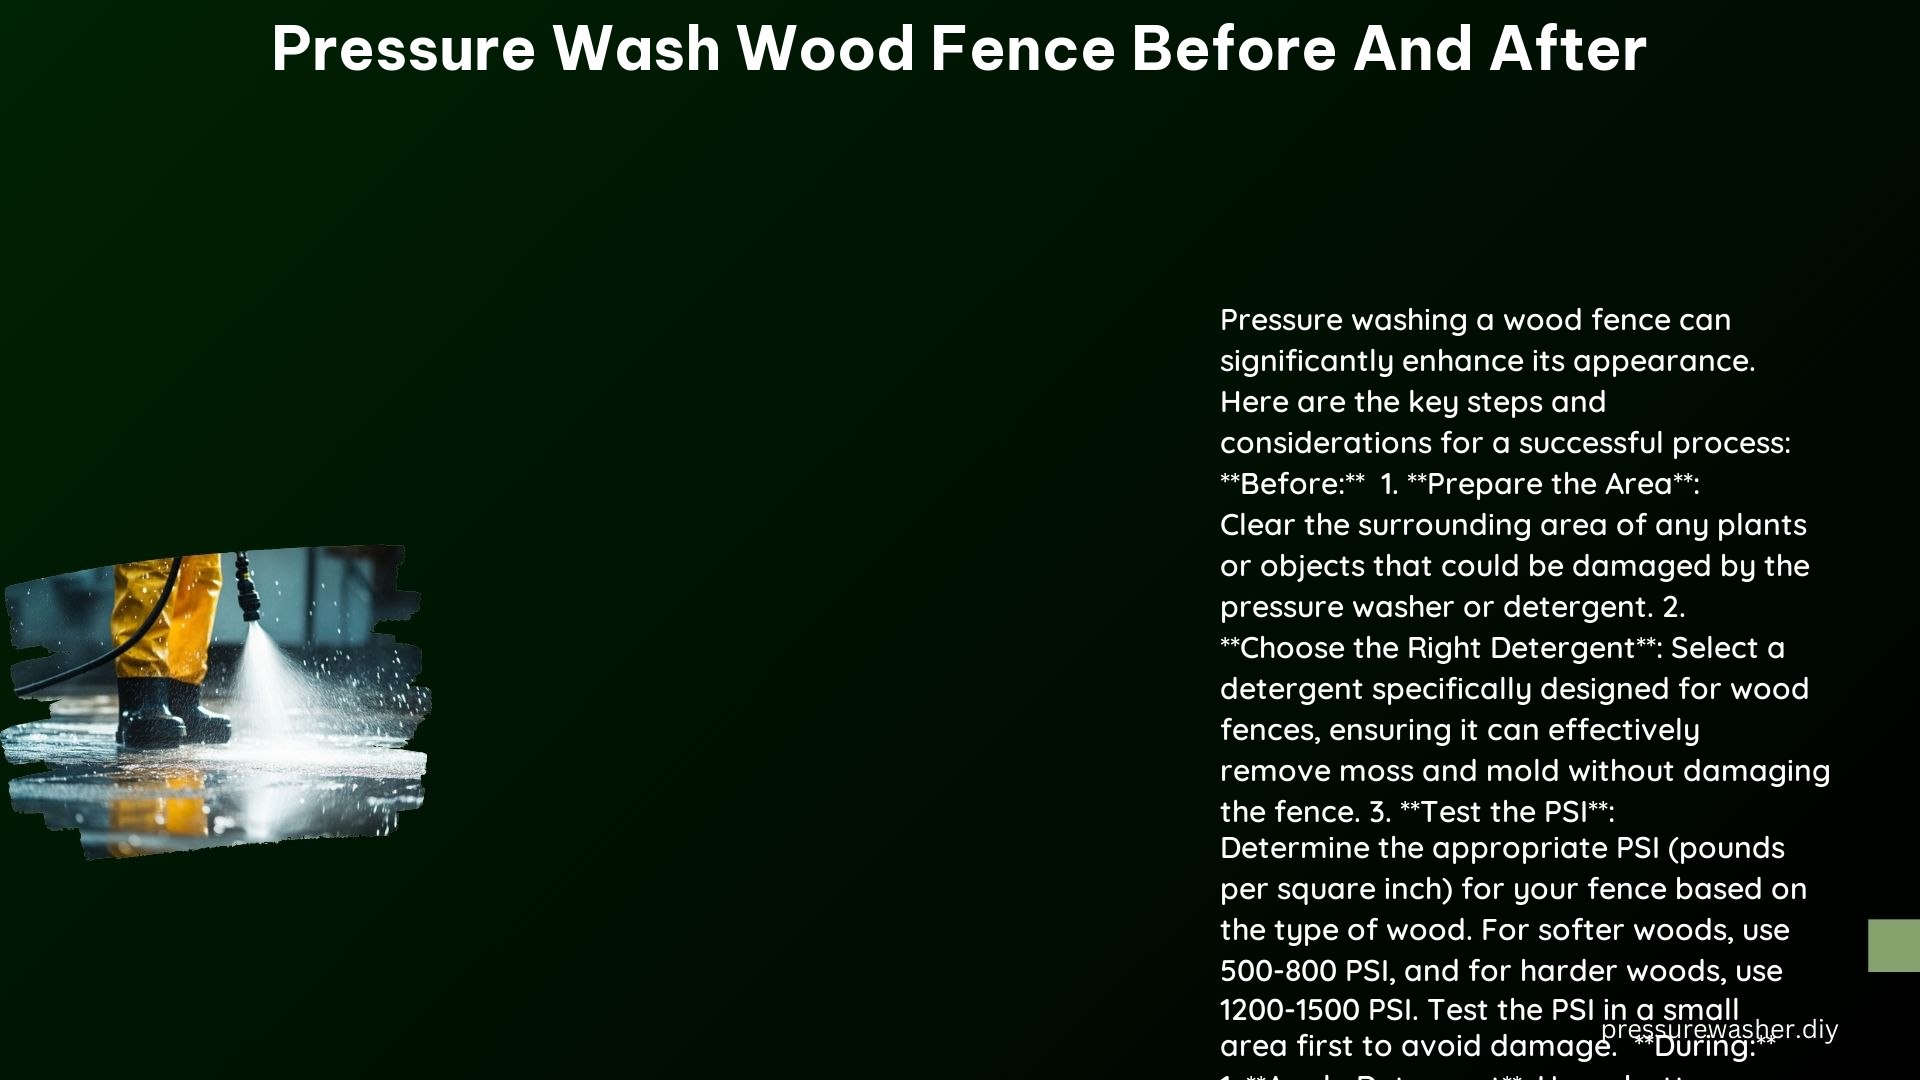
Fence Preparation
Before starting the pressure washing process, it’s crucial to ensure that the fence is free of any debris or loose dirt. Thoroughly inspect the fence and remove any plants, objects, or obstacles that could be damaged by the pressure washer. This step will help you achieve a consistent and uniform cleaning result.
Nozzle Selection and PSI Adjustment
Choosing the right nozzle and adjusting the PSI (Pounds per Square Inch) is essential for effective and safe pressure washing. For wood fences, a 25-degree tip nozzle is recommended. The appropriate PSI range varies depending on the type of wood:
- Softer woods (e.g., cedar, pine): 500-800 PSI
- Harder woods (e.g., redwood, pressure-treated pine): 1200-1500 PSI
It’s important to test the PSI on a small, inconspicuous area of the fence to ensure the right pressure is being used, as excessive pressure can damage the wood.
Fence Cleaner Selection
Using a detergent specifically designed for wood fences is crucial for achieving the best cleaning results. These specialized cleaners are formulated to effectively remove dirt, moss, and mold without causing damage to the wood. Apply the cleaner and let it sit for 5-10 minutes before rinsing it off with water.
During Pressure Washing: Technique and Precautions
Cleaning Technique
When pressure washing the fence, work from the bottom up and from left to right to prevent streaking. Maintain a steady, overlapping motion to ensure a thorough and even cleaning of the fence boards.
Avoiding Damage
Be cautious not to use too much pressure, as this can lead to damage to the wood. It’s essential to test the PSI in a small, inconspicuous area first to ensure the right pressure is being used. Adjust the PSI as needed to avoid any potential harm to the fence.
After Pressure Washing: Drying and Sealing/Painting
Drying Time
After pressure washing, allow the fence to dry completely for 48 hours before applying a sealant or paint. This drying period is crucial to ensure the wood is fully dry and ready for the next step.
Sealing or Painting
To protect the wood from sun and wind damage, apply a high-quality sealant or paint. Ensure that the sealant or paint is applied evenly and completely, including the gaps and edges of the fence boards. This step will help prevent rot and extend the lifespan of your wood fence.
Benefits of Pressure Washing
Pressure washing a wood fence offers several benefits:
- Restores Natural Color: The pressure washing process can remove the grayish layer that forms on wood fences, revealing the original color beneath.
- Removes Dirt and Grime: Effective cleaning removes dirt, moss, and mold, which can damage the wood if left unchecked.
- Prevents Rot: Cleaning and sealing the fence helps prevent rot and extends its lifespan.
Technical Specifications
- Nozzle: 25-degree tip
- PSI: 500-800 for softer woods, 1200-1500 for harder woods
- Detergent: Specifically designed for wood fences
- Drying Time: 48 hours
- Sealant or Paint: Apply evenly and completely, including gaps and edges